domingo, 1 de junio de 2014

Trabajo Final

Descripción del Laboratorio:

En el siguiente laboratorio se realizara un medidor de velocidad con un código de arduino y un ventilador de computador.


Lista de Elementos Utilizados:

-Arduino UNO
-Cables
-Ventilador de PC
-2 Resistencias
-Protoboard
-Cable con Puerto USB
-Computador

Diagrama del Montaje en Protoboard:

en este montaje no encontré como representar el ventilador de computador, aquí que opte por diagramar lo con un motor.


Diagrama Esquemático del Circuito:


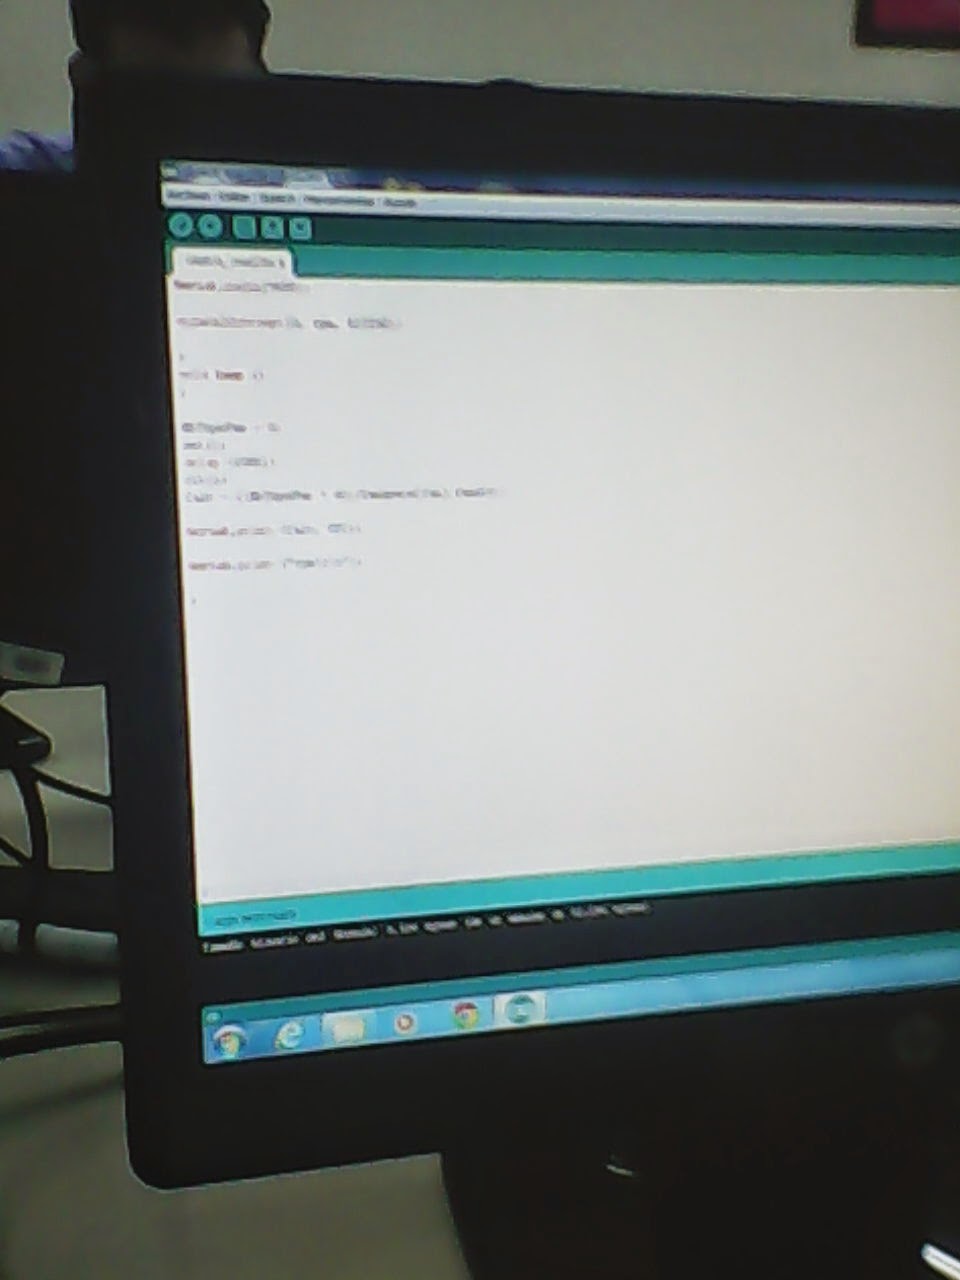
Fotos del Montaje:


 Vídeo Funcionamiento:


Código fuente Arduino:


  1. int NbTopsFan;
  2. int Calc;

  3. int hallsensor = 2;
  4. typedef struct{

  5. char fantype;

  6. unsigned int fandiv;

  7. }

  8. fanspec;

  9. //Definitions of the fans
  10. fanspec

  11. fanspace[3]={{0,1},{1,2},{2,8}};
  12. char fan = 1;

  13. void rpm ()
  14. {

  15. NbTopsFan++;

  16. }

  17. void setup()

  18. {

  19. pinMode(hallsensor, INPUT);

  20. Serial.begin(9600);

  21. attachInterrupt(0, rpm, RISING);

  22. }
  23. void loop ()
  24. {

  25. NbTopsFan = 0;
  26. sei();
  27. delay (1000);
  28. cli();
  29. Calc = ((NbTopsFan * 60)/fanspace[fan].fandiv);

  30. Serial.print (Calc, DEC);

  31. Serial.print ("rpm\r\n");

  32. }


miércoles, 21 de mayo de 2014

Laboratorio 10

Enviar desde una página web un mensaje a una pantalla LCD 16x2 conectada al Arduino.

Lista de elementos utilizados:


-Una Protoboard
-Un LCD 16x2
-Un Potenciómetro
-Un Arduino UNO
-Cables
-Un Arduino Ethernet Board


Diagrama del montaje en la protoboard:


Diagrama Esquemático del Circuito 


Fotos del Montaje.


Vídeo funcionamiento:


Código fuente arduino:


  1. // include the library code:
  2. #include <LiquidCrystal.h>
  3. #include <SPI.h>
  4. #include <Ethernet.h>
  5. #define max_he 255
  6. // initialize the library with the numbers of the interface pins
  7. LiquidCrystal lcd(7, 6, 5, 4, 3, 2);
  8. // Enter a MAC address and IP address for your controller below.
  9. // The IP address wixll be dependent on your local network:
  10. byte mac[] = {
  11.   0xDE, 0xAD, 0xBE, 0xEF, 0xFE, 0xED };
  12. IPAddress ip(192,168,1,14); //direccion ip configurada para funcionar con el servidor.
  13. // Initialize the Ethernet server library
  14. // with the IP address and port you want to use
  15. // (port 80 is default for HTTP):
  16. EthernetServer server(80);
  17. String Http = String(max_he);
  18. void setup() {
  19.   // set up the LCD's number of columns and rows:
  20.   lcd.begin(16, 2);
  21.   // Print a message to the LCD.
  22.   lcd.print(">>");
  23.   Http = "";
  24.   // start the Ethernet connection and the server:
  25.   Ethernet.begin(mac, ip);
  26.   server.begin();
  27.   Serial.begin(9600);
  28.   Serial.print("server is at ");
  29.   Serial.println(Ethernet.localIP());
  30. }
  31. void loop() {
  32.   // set the cursor to column 0, line 1
  33.   // (note: line 1 is the second row, since counting begins with 0):
  34.   //lcd.setCursor(0, 1);
  35.   // print the number of seconds since reset:
  36.   //lcd.print(millis()/1000);
  37.   // Turn off the display:
  38.   lcd.noDisplay();
  39.   delay(500);
  40.   // Turn on the display:
  41.   lcd.display();
  42.   delay(500);
  43.   // listen for incoming clients
  44.   EthernetClient client = server.available();
  45.   if (client) {
  46.     Serial.println("new client");
  47.     // an http request ends with a blank line
  48.     boolean currentLineIsBlank = true;
  49.     while (client.connected()) {
  50.       if (client.available()) {
  51.         char c = client.read();
  52.         if (Http.length() < max_he){
  53.           Http += c;
  54.         }
  55.         // if you've gotten to the end of the line (received a newline
  56.         // character) and the line is blank, the http request has ended,
  57.         // so you can send a reply
  58.         if (c == '\n' && currentLineIsBlank) {
  59.           // send a standard http response header
  60.           client.println("HTTP/1.1 200 OK");
  61.           client.println("Content-Type: text/html");
  62.           client.println("Connection: close");  // the connection will be closed after completion of the response
  63.           client.println("Refresh: 30");  // refresh the page automatically every 5 sec
  64.           client.println();
  65.           client.println("<!DOCTYPE HTML>");
  66.           client.println("<html>");
  67.           client.println("<form method=\"GET\">");
  68.           client.println("<input type=\"text\" name=\"msg\" size=\"10\" />");
  69.           client.println("<input type=\"submit\">");
  70.           client.println("</form>");
  71.           client.println("</html>");
  72.           break;
  73.         }
  74.         if (c == '\n') {
  75.           // you're starting a new line
  76.           currentLineIsBlank = true;
  77.         }
  78.         else if (c != '\r') {
  79.           // you've gotten a character on the current line
  80.           currentLineIsBlank = false;
  81.         }
  82.       }
  83.     }
  84.     // give the web browser time to receive the data
  85.     delay(1);
  86.     int firstPos = Http.indexOf("?");
  87.     if(firstPos > -1){
  88.       int lastPos = Http.indexOf(" ", firstPos+5);
  89.       String text = Http.substring(firstPos+5, lastPos);
  90.       // Serial.print("[" + text + "]");
  91.       lcd.print(text);
  92.       Http = "";
  93.     }
  94.    
  95.     // close the connection:
  96.     client.stop();
  97.     Serial.println("client disonnected");
  98.   }
  99. }

Laboratorio 9

Mostrar en una página web los datos capturados en el Arduino desde dos potenciómetros, un LDR, y un switch Reed.

Lista de los Elementos utilizados:


-Un Arduino

-Una Protoboard
-Dos Potenciómetros
-Un resistor dependiente de la luz ( LDR )
-Un reed switch
-Dos resistencias


Diagrama del montaje en la protoboard:


Diagrama esquematico el circuito:


Fotos del Montaje:


vídeo Funcionamiento:


Código fuente arduino:


  1. #include <SPI.h>
  2. #include <Ethernet.h>
  3. #define fotocelda A3  
  4. #define lumino A2      
  5. #define LM01 A0        // Potenciometro 1
  6. #define pot A1        // potenciometro 2
  7. byte mac[] = {
  8.   0xDE, 0xAD, 0xBE, 0xEF, 0xFE, 0xED }; //Dirección mac
  9. IPAddress ip(192,168,1,14);
  10. EthernetServer server(80);
  11. void setup() {
  12.   Serial.begin(9600);
  13.   pinMode(fotocelda, INPUT);
  14.   pinMode(LM01, INPUT);
  15.   pinMode(pot, INPUT);
  16.    while (!Serial) {
  17.     ; // Esperar al que puerto serial se conecte.
  18.   }
  19.   // iniciar la conexión Ethernet y el servidor:
  20.   Ethernet.begin(mac, ip);
  21.   server.begin();
  22.   Serial.print("server is at ");
  23.   Serial.println(Ethernet.localIP());
  24. }
  25. void loop() {
  26.   EthernetClient client = server.available();
  27.   if (client) {
  28.     Serial.println("new client");
  29.    
  30.     boolean currentLineIsBlank = true;
  31.     while (client.connected()) {
  32.       if (client.available()) {
  33.         char c = client.read();
  34.         Serial.write(c);
  35.      
  36.         if (c == '\n' && currentLineIsBlank) {
  37.           // enviar un encabezado de respuesta HTTP estándar
  38.           client.println("HTTP/1.1 200 OK");
  39.           client.println("Content-Type: text/html");
  40.           client.println("Connection: close");  
  41.    client.println("Refresh: 2");  
  42.           client.println();
  43.           client.println("<!DOCTYPE HTML>");
  44.           client.println("<html>");
  45.      
  46.             int valorL = analogRead(fotocelda);
  47.             int luminosidad =  map(valorL, 0, 1023, 0, 100);
  48.             client.print("Reed");
  49.             client.print(" es: ");
  50.             client.print(luminosidad);
  51.             client.println("<br />");
  52.            
  53.             int valorLuz = analogRead(lumino);
  54.             int luz =  map(valorLuz, 0, 1023, 0, 100);
  55.             client.print("Luz");
  56.             client.print(" es ");
  57.             client.print(luz);
  58.             client.println("<br />");
  59.      
  60.             int valorT1 = analogRead(LM01);
  61.             int TEMP1 =  map(valorT1, 0, 1023, 0, 100);
  62.             client.print("Potenciometro 1");
  63.             client.print(" es: ");
  64.             client.print(TEMP1);
  65.             client.println("<br />");  
  66.             int valorT2 = analogRead(pot);
  67.             int TEMP2 =  map(valorT2, 0, 1023, 0, 100);
  68.             client.print("Potenciometro 2");
  69.             client.print(" es ");
  70.             client.print(TEMP2);
  71.             client.println("<br />");              
  72.          
  73.           client.println("</html>");
  74.           break;
  75.         }
  76.         if (c == '\n') {
  77.           /
  78.           currentLineIsBlank = true;
  79.         }
  80.         else if (c != '\r') {
  81.           currentLineIsBlank = false;
  82.         }
  83.       }
  84.     }
  85.     delay(1);
  86.     client.stop();
  87.     Serial.println("client disonnected");
  88.   }
  89. }